1. Find some fabric

 2. Cut it to the right size for your basket

 3. Sew your fabric together so that it makes a loop. One loop of each color.
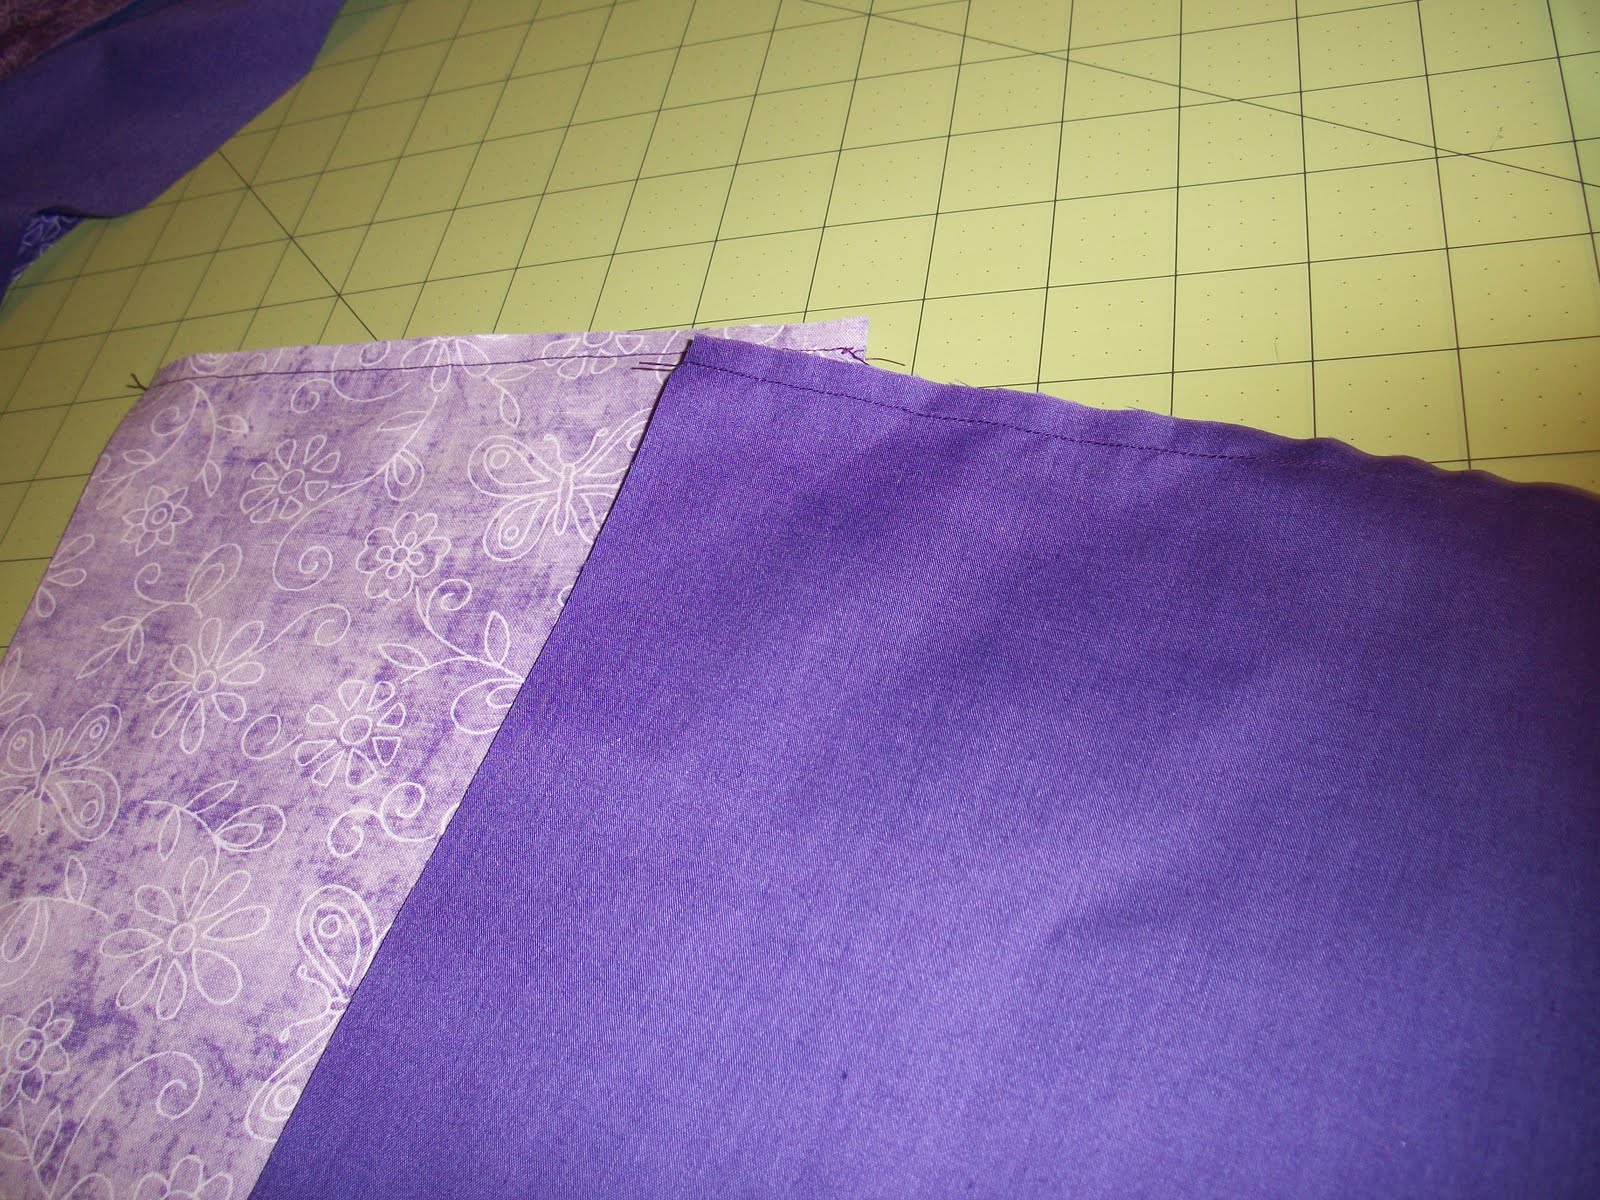 4. I guess I forgot a picture... You need to sew the two loops together on bottom. Make sure your main print is facing out so that wrong sides of the fabric are touching. You will then need to sew 6 lines so that eventually you can put some cardboard in them.
5. Go to the store and get more thread.

6. Sew the bottom piece of the basket to the side pieces.
 7. Sew the binding on the bottom.
 8. Put the cardboard pieces that you cut out in the beginning (I include that in cutting your fabric...) into the slots that you already sewed.
 9. Switch your needle to a Jean/Denim sewing needle because the instuctions say so.
 10. Then decide that using a glue gun to glue on the binding is a LOT easier/less stressful, and glue the binding down.
 11. Glue the inside bottom fabric to your bottom cardboard piece.
 12. Put it inside the box and have a finished product! And then promptly put things inside. :)
 And that is how it's done.

3 comments:
What a lovely basket!!!
My favorite step was go to the store and get more thread. I do steps like that a lot....get more material, buy more needles, buy another package of trim, now it's time to buy interfacing, etc.
Step #1 - Pay Natalie to do it for you.
Post a Comment